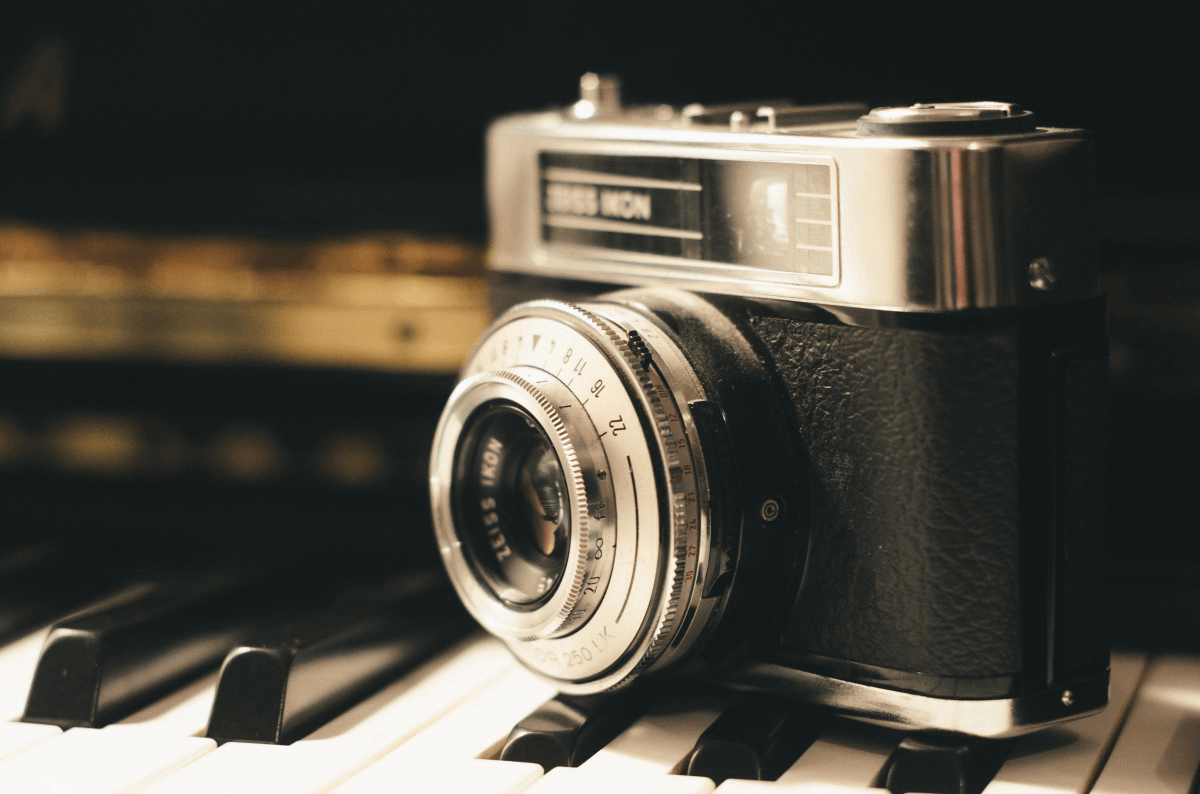
My latest astrophotography setup consist of an Orion 8″ f4.9 Newtonian reflector, a Meade 80mm f10 refractor for guiding and an Orion Atlas EQ-G mount. The telescope’s clear aperture is 203mm, and its focal length is 1000mm. The 80mm guide scope has an 800mm focal length. I use a X.5 focal length reducer to allow for a larger field of view for guiding. When using the Meade DSI camera in prime focus with the Orion 8″ telescope my resolution is 1.547 arcsecond per pixel. This gives me a field of view of around 16 by 12 arcminutes. The Meade DSI uses a small CCD imager and this can be a problem when imaging larger DSOs.

The Orion Atlas EQ-G mount is an amazing mount for the price. I have been impressed with its stability, slewing smoothness and ease of use. I use EQMOD to control the mount from my laptop. I do not use the supplied hand controller. The EQMOD project is a great resource and the guys there have provided a great service for amateur astronomers. With their software it is possible to control all aspects of your EQ-G mount with rather advanced features and options.
For the main OTA rings I’m using Orion rings and for the guide scope I am now using ADM rings from ADM Accessories. Initially I was using guide scope rings from Orion as well. These rings though are not adequate for long exposure times. With them I was not able to take exposures any longer than two minutes due to differential flexing. After upgrading to ADM rings I’m now able to take five and ten minute exposures.

Differential flexing is a problem any time you have a guide scope piggybacked to your main telescope. I honestly was not expecting to have as much trouble with flexing as I have had. Currently flexing is the limiting factor keeping me from taking longer exposures. Unless you use a camera which uses a second imager to make guiding corrections using the same imaging telescope your setup will have some degree of flexing. One simply has to minimize it as much as possible.
I have purchased a few filters that I feel are very important for astrophotography. Because CCD imagers are sensitive in the IR range as well as the visible range, if not filtered, the images captured tend to not be of very good quality. After all, you normally just want to capture the visible light not the IR light. This is not always the case, but normally you want to cut out the IR range and UV range, and just leave the visible light range. The filter in the bottom right of the picture is my Baader Planetarium UV/IR-Cut-Filter. I can screw this filter directly onto the camera.

Another very important yet rather expensive filter is the H-alpha filter. This filter, top center, blocks all light wavelength except for the 656nm H-alpha emission line. In other words this filter effectively filters out all light pollution found around most backyard observatories. This filter is mostly used for H-alpha emitting nebulae and tends to lower the amount of light which reaches the CCD.
A good focal length reducer (FLR) is a great addition to any telescope setup, and a must for astrophotography in my opinion. An FLR screwed onto an eyepiece or CCD camera effectively increases your field of view and amount of light reaching your eye or CCD chip. The trade off is less magnification and potential aberration issues. I use an Atik x.5 FLR pictured bottom left.

Dew is always a problem when imaging with telescopes. The simplest and most effective solution to this problem is to use dew heaters. I built my own dew heaters for both the main imaging scope and guide scope. On the above photo the dew heaters are the two yellow straps seen on the telescopes. I use a temperature controller board which I built as a kit to control the heaters. You can get these on line for less than twenty dollars.
Dew heaters can also be purchased of course. I found them to be rather expensive though and this is a project that most hobbyists can do themselves. I followed the instructions on this post at iceinspace.com to build the heaters.
The weight of my complete telescope setup is over one hundred pounds. This is not the type of setup that you want to be taking outside for an imaging session and then bring back inside every time if you can help it. I had no intentions of doing this so from the start I planned for a semi permanent installation.
To this end I poured a cement slab for the Atlas mount to sit on. I added a cable which secures the mount to the cement slab to keep the mount from ever tipping in high winds. On the image to the right the cable is just visible in the center of the tripod legs.
I then purchased a large 365 cover from Telegizmos. These covers are excellent and they will not leak, guaranteed. The only thing to worry about is humidity inside the cover. A simple solution is to add a heating rod inside the cover to keep the temperature above the dew point. I purchased mine from ScopeStuff. Still rust on bolts is an issue so I keep a close eye on this and regularly cover all needy parts with a thin film of grease.
My imaging cameras consist of a Meade DSI Color and Meade DSI Pro monochrome CCD camera. These are good camera and work well, but they are older models and the imagers are small. I use the DSI Color as the main imaging camera because it is easier to create full color images with it. The DSI Pro requires the use of color filters to create color images and this can be time consuming so I use it as my guide camera. One added benefit of using the DSI Pro for the guiding camera is that it is more sensitive than the DSI Color and this is beneficial when you are running 1 second exposures in the guiding software!
Well, this is my primary astrophotography setup. Rather simple yet quite effective.
Jon Steedley
Hello, Mr. Gonzalez;
I left a comment on your collimation page, & reading about your equipment I wondered about the tools you use to collimate your 8″ ‘scope.
Maybe you could take photos of your tools & write up the way you use them, along with suggestions for newbies who need similar tools, too.
Have a GREAT day, Neighbor!
w4gon79
Hi Jon,
For the 8″ reflector I use the laser collimator and Barlow lens combo. I have found that this is a very quick and effective way to collimate the primary mirror in the field. I have a quick write up of it towards the bottom of the “How to Collimate” page. I came across this technique on YouTube while searching for a better way to collimate Newtonian reflectors.
Jon Steedley
Hello, Mr. Gonzalez;
I REALLY appreciate your reply; As a ‘newbie’ amateur astronomer, I have a 70mm refractor, & I just bought a used 6″ mini Dob, which I’ve been learning how to collimate. So far, I think I’ve done a good job because when I defocus it I see a concentric circular image w/ the 4 spider vane ‘shadows’, using the collimation cap.
Nonetheless, I’m trying to learn how to collimate even better, & I bought a short sight tube w/ a crosshair.
Because my 6″ ‘scope is a f/5, I’m a little concerned that a collimation cap may not be precise enough.
So that’s why I asked.
Again, many “THANKS”!
j